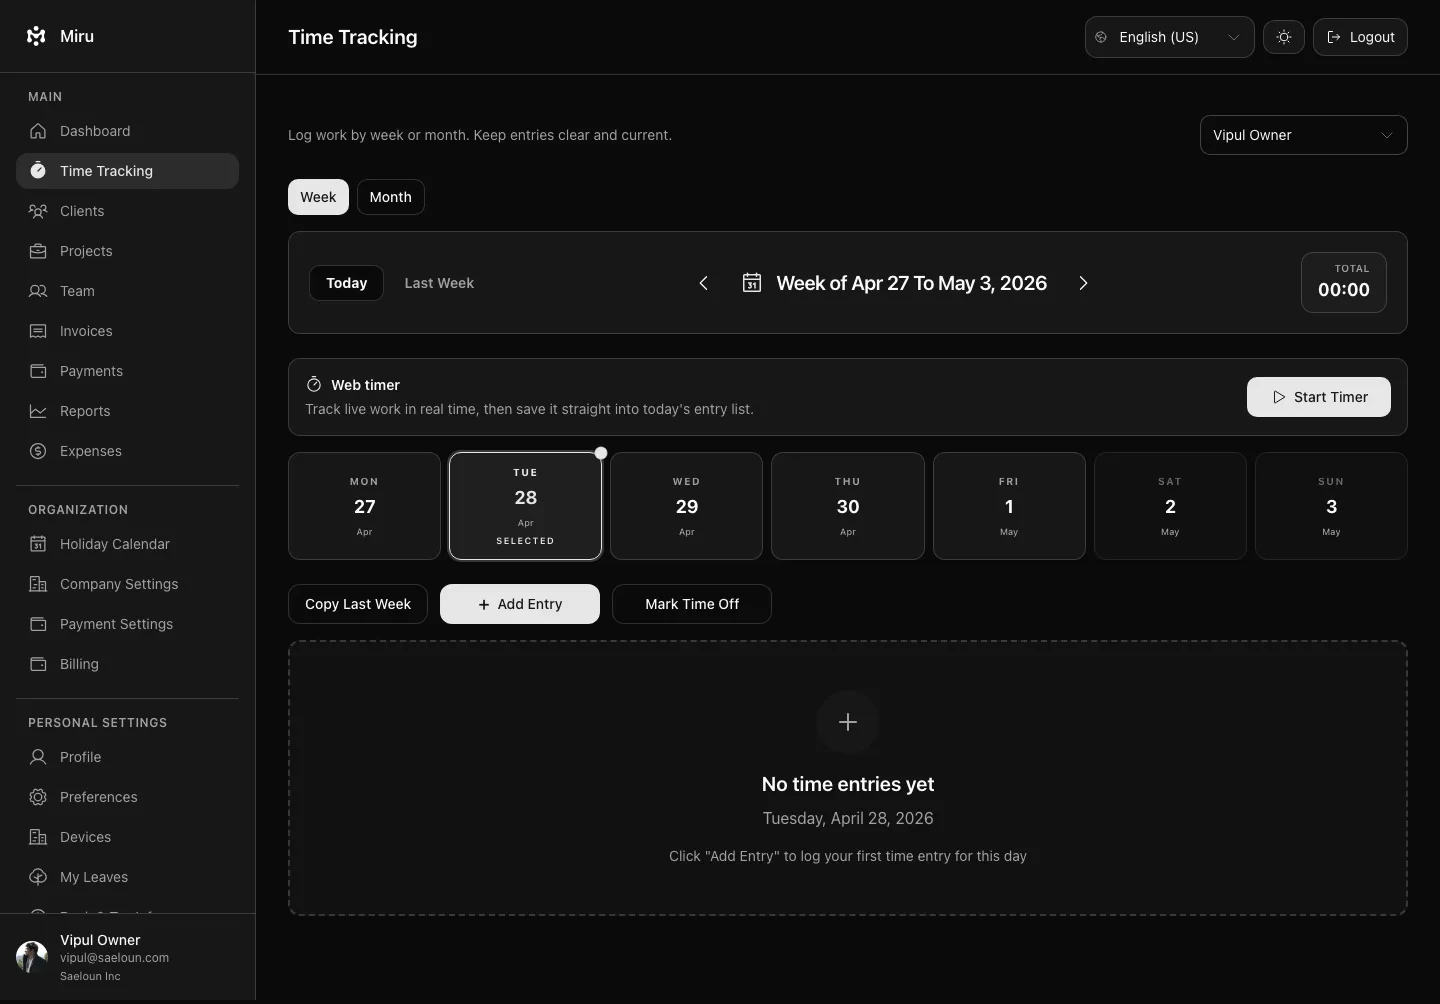
Miru Time Tracking offers Week and Month views of your timesheet. Week is the default.
Click Add Entry to log work, or Mark Time Off to add leave.
The Week view lets you enter time for several days at once, without opening each day separately.
The Month view shows all your logged hours for the month in one place.
Logging Time Off
In addition to tracking work hours, you can also log time off (leave) entries:
- Click Mark Time Off.
- Select a leave type from the dropdown - this includes:
- Standard leave types (e.g., PTO, Sick Leave) - available to all employees
- Custom leaves - special allocations assigned specifically to you
- Enter the duration and select the date
- Add optional notes
- Click Save Entry.
Your leave balance will automatically update to reflect the time off taken. For more details on leave management, see the Leave Management guide.
Week View
The Weekly Overview of your timesheet provides an efficient way to input a significant amount of time at once. You can access this overview by navigating to Time Tracking > WEEK.
Here, you can easily track your total hours worked.
Adding Time in the Weekly Overview
- Click Add Entry.
- Choose the client and project.
- Enter the time and description, then click Save Entry.
An entry is billable when the Billable box is ticked; it is ticked by default on a billable project. Only billable entries can be pulled onto an invoice.
Month View
The Month view of your timesheet provides an efficient way to view all hours logged at glance. You can access this overview by navigating to Time Tracking > MONTH.
Here, you can easily track your total hours worked for the month.
Adding Time in the Monthly Overview
- Click Add Entry to add time from the Month view.
If you are an admin, you can select to view time entries for team members using the dropdown.